Images are one of the best ways to add visual appeal to your presentation and draw in your viewer’s attention. With a little creativity, you can also create neat animations with them or use them as background images over text.
While some images work well with text over them, others make text too hard to read. One of the easiest ways you can fix this is by simply adding a little transparency to your background images.
Like you can add transparency to shapes in Google Slides, you can also make images transparent. In this article, we’ll show you step-by-step instructions on how on your PC, Android, or iPhone.
How to Add Transparency to Images in Google Slides
You can make images transparent in Google Slides by adjusting the Transparency setting in the image Adjustments menu. Here’s how, step-by-step, on your PC and in the Google Slides mobile app on your Android or iPhone:
Desktop/PC
- Open Google Slides, sign into your account, and create a new presentation or edit an existing one.
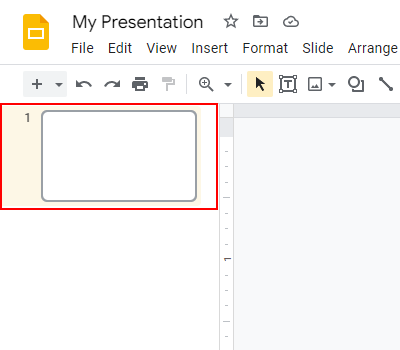
- In the leftmost menu, select the slide you wish to add an image to.
- Click the
Inserttab, hover overImage, and selectUpload from ComputerorSearch the web. Browse for and upload your image.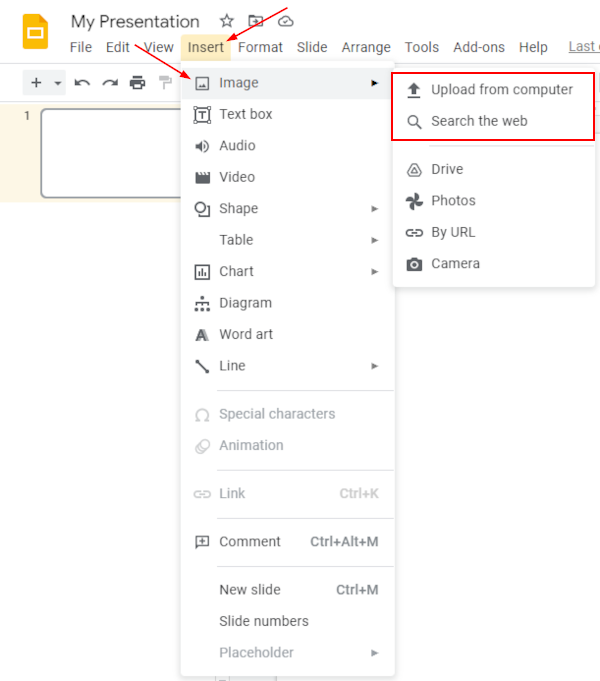
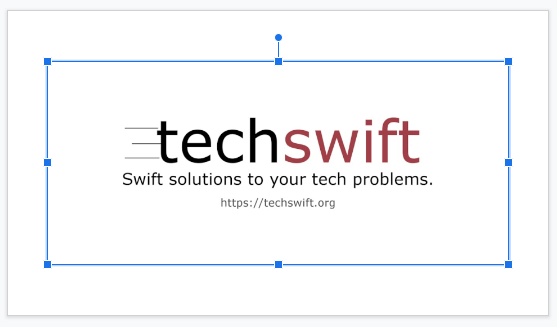
- Once inserted, click the image to select it. A blue border will appear around the image when selected.
- With the image selected, click the
Formattab and selectFormat options. Alternatively, you can right click the image and chooseFormat optionsor clickFormat optionsin the Toolbar above the current slide.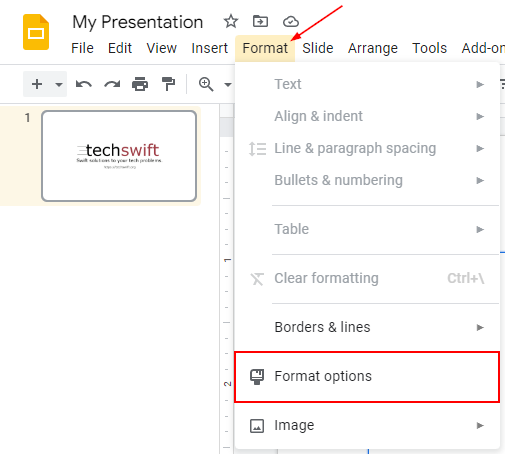
- The Format Options panel will appear to the far right. Click to expand
Adjustmentsand then use theSliderunder Transparency to adjust the image’s transparency. You can revert these changes at any time by clicking theResetbutton.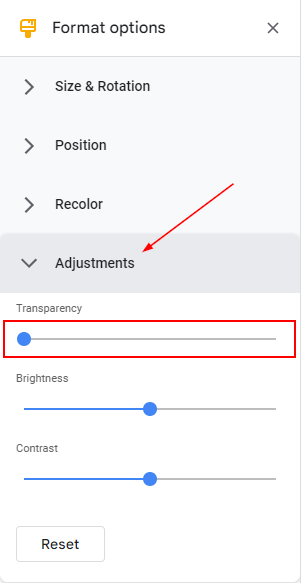
Android/iPhone
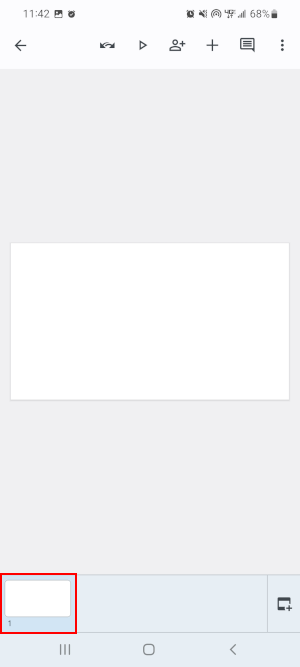
- Open the Google Slides mobile app, sign into your account, and create a new presentation or edit an existing one.
- Near the bottom, select the slide you wish to add an image to.
- Tap the
Addsymbol in the upper right corner and selectImage>From photos. Browse for and upload your image. Alternatively, you can chooseFrom cameraand take a photo.
- Once added, tap the image to select it. A blue border will appear around the image when selected.
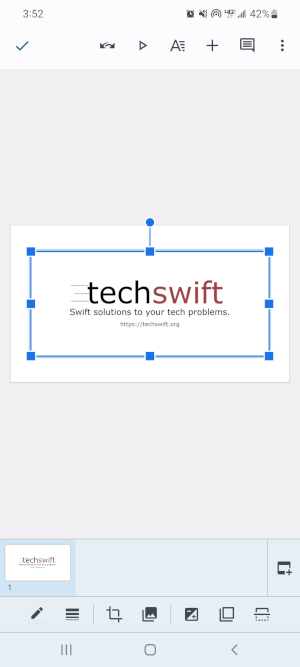
- With the image selected, tap the
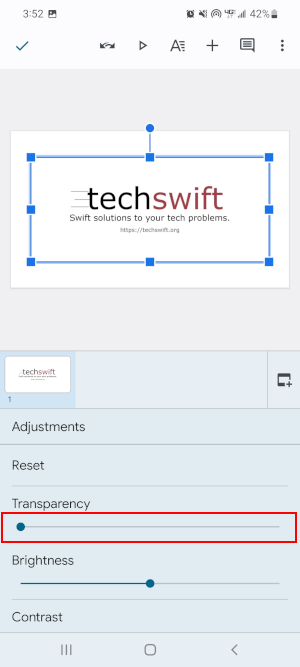
+/- Squareicon in the Toolbar at the bottom.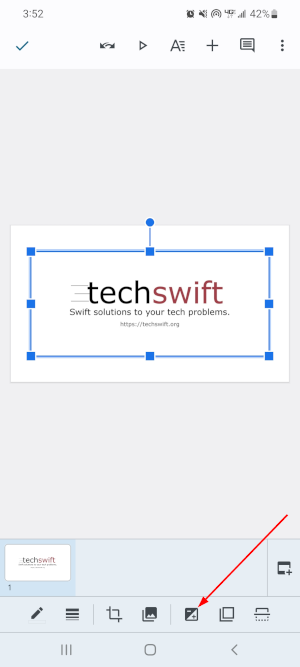
- In the Adjustments menu that appears, use the
Sliderunder Transparency to adjust the image’s transparency. You can revert these changes at any time by tapingResetat the top of this menu.