Using images in Google Docs is a great way to illustrate complex information, attract attention, and keep your readers engaged. Images can also be used in other creative ways such as header or footer elements, and even background images.
If you have an image that you want to use as a background image, you’ll need to know how to put it behind text. Thankfully, this is something that Google Docs fully supports and is extremely easy to do.
In this article, we’ll show you step-by-step instructions on how on your PC, Android, or iPhone.
How to Put an Image Behind Text in Google Docs
You can put an image behind text in Google Docs by changing its Text Wrapping to Behind text. Here’s how, step-by-step, on your PC and in the Google Slides mobile app on your Android or iPhone:
Desktop/PC
- Open docs.google.com, sign into your account, and create a new document or edit an existing one.
- Click the
Inserttab, hover overImage, and selectUpload from ComputerorSearch the web. Browse for and upload your image.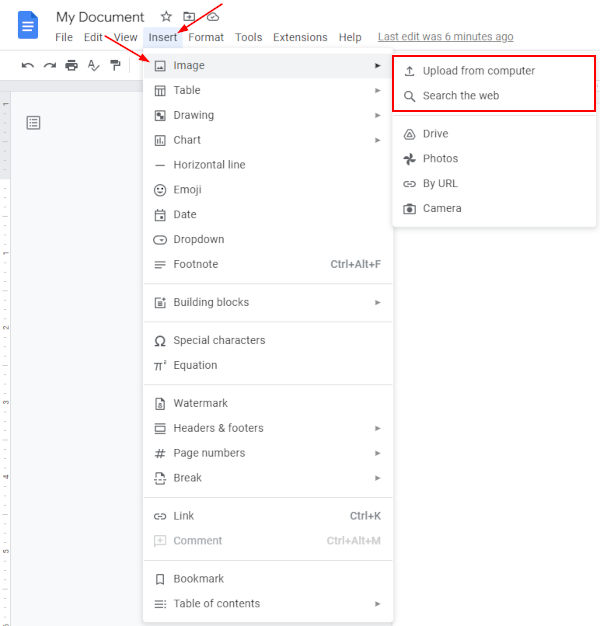
- Once inserted, click the image to select it. A blue border will appear around the image when selected.
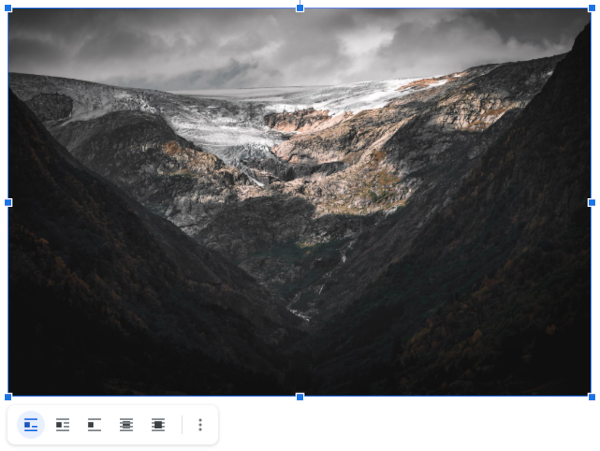
- With the image selected, click the
Formattab, hover overImage, and selectImage options. Alternatively, you can right click the image itself and selectImage Options.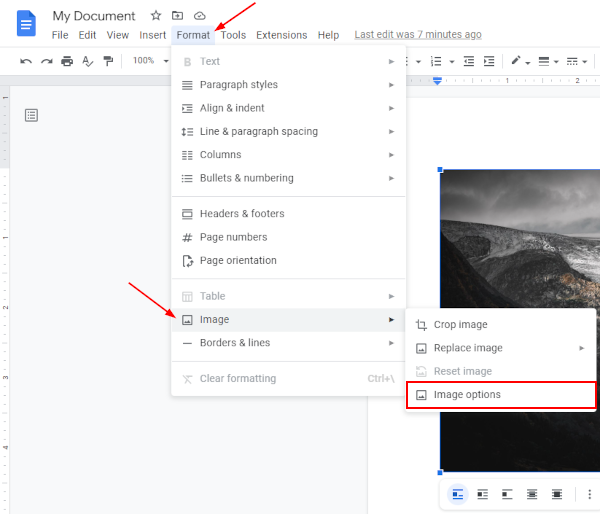
- The Format Options panel will appear to the far right. Click to expand
Text Wrappingand then selectBehind textunder Style. You may also want to add some transparency to your image so that text is easier to read. You can do that underAdjustments.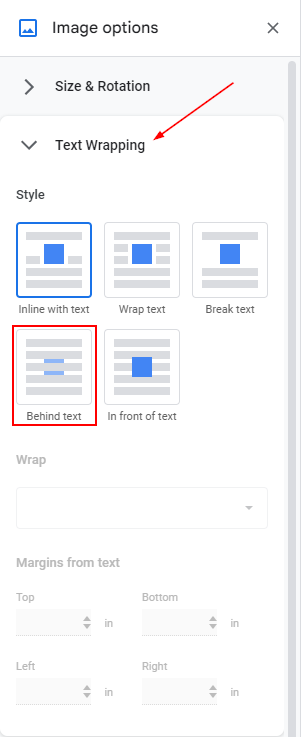
- Click above your image so that the text cursor appears and start typing the text you wish to be in front of your image. You can move the text further down by pressing
Enteron your keyboard.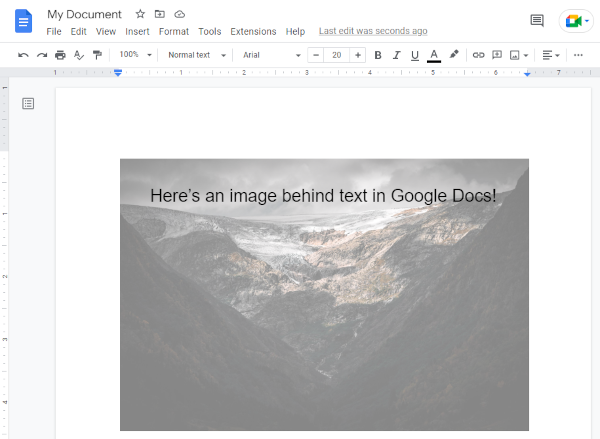
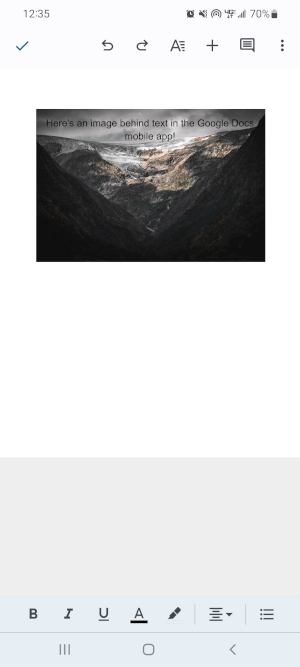
Android/iPhone
- Open the Google Docs mobile app, sign into your account, and create a new document or edit an existing one.
- Tap the
Addsymbol in the upper right corner and selectImage>From photos. Browse for and upload your image. Alternatively, you can chooseFrom cameraand take a photo.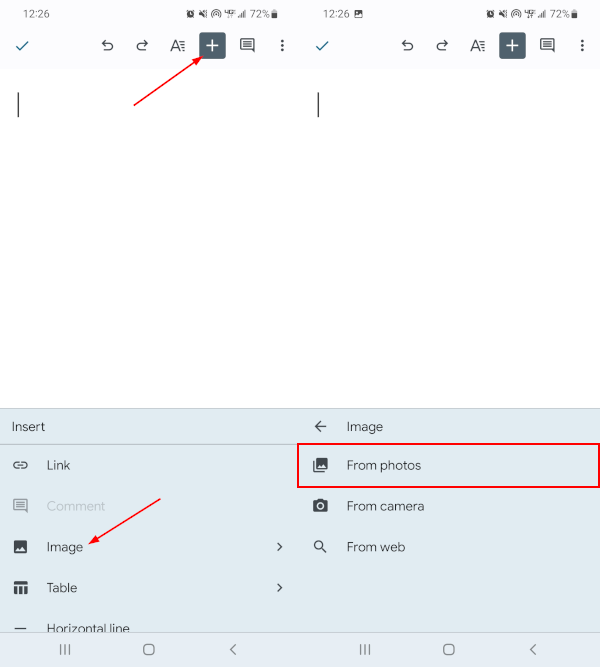
- Once added, tap the image to select it. A blue border will appear around the image when selected.
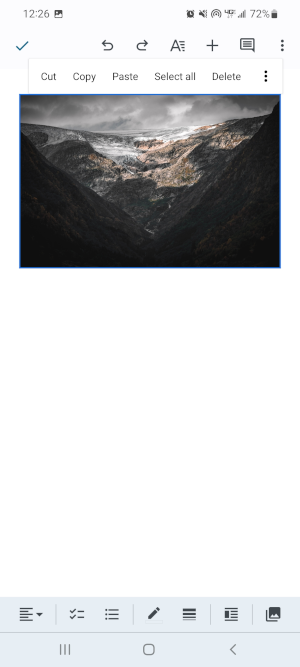
- With the image selected, tap the
Text Wrapicon in the Toolbar at the bottom.
- In the Text wrap menu that appears, tap
Behind text. It helps readability to add some transparency to your image, but unfortunately it seems that this feature is not yet supported in the Google Docs mobile app. You’ll have to use the PC version to do that.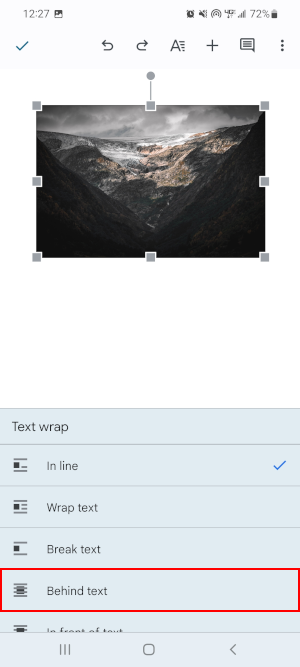
- Tap anywhere outside of the image so that the text cursor appears and start typing the text you wish to be in front of your image. You can move the text further down by pressing
Enteron your keyboard.