Considering the text-centric nature of Google Docs, people often forget the amount of visual design tools that the application offers. On top of circling words, text wrapping, and some basic image editing, Docs allows users to create and customize borders around their text.
This is useful for a variety of reasons both practical and otherwise. There’s a few different ways to implement borders – in this article, we’ll walk you through how to put borders around text in Google Docs.
Why Use Borders?
Depending on the type of document you’re working on – it could be an essay, a report, or even some kind of infographic – adding some visual flair can go a long way in helping capture your audience or get your message across.
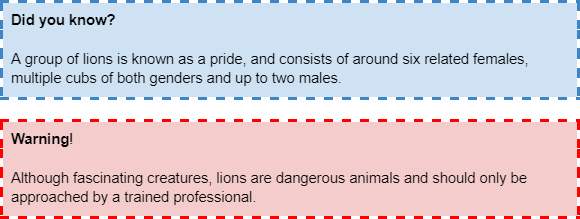
In other cases, using borders can help either convey important information, or caution them against some sort of action. Below are a few examples of how this might be done using borders around text in Google Docs:
Use Paragraph Styles
The first way to implement borders is through the use of paragraph styles. This can be accessed by highlighting the paragraph you want to place a border around and opening the Format tab from the toolbar.
Keep in mind that, regardless of how much text you highlight, Google Docs will place the border around the entire paragraph.
- Open docs.google.com, sign into your account, and create a new document or edit an existing one.
- Highlight the paragraph you wish to put a border around. Remember that this method will put a border around the entire paragraph, even if you only highlight a few words within the paragraph.

- Click the
Formattab and selectParagraph styles > Borders and shading.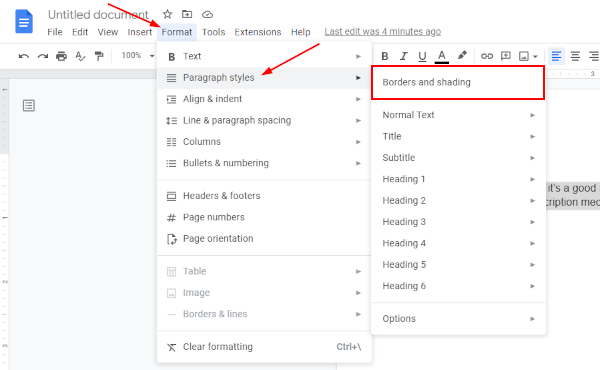
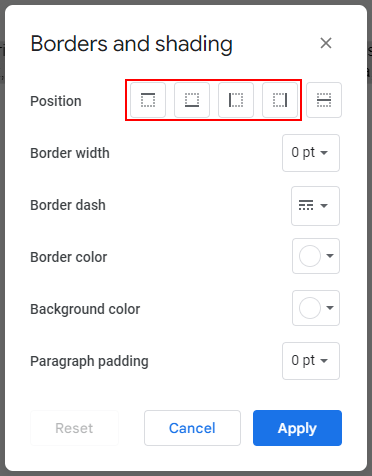
- In the Borders and Shading window that appears, click the first four boxes to the right of Position. These boxes indicate a border on each side of the text, so select all four to completely surround the text with a border.
- Choose a width for your border using the
Dropdownto the right of Border width. In the examples above, we used 2.25pt width.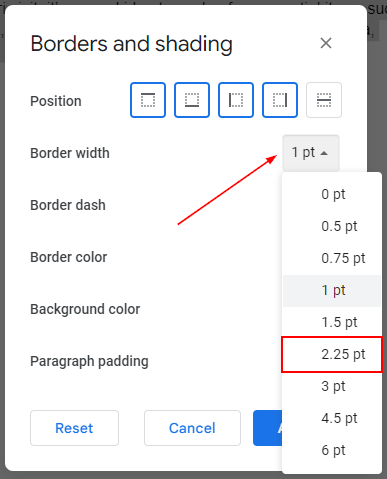
- Optionally, style your border, or add some color to it, using the
Dropdownsto the right of Border dash and Border color. You can also add a background color using theDropdownto the right of Background color.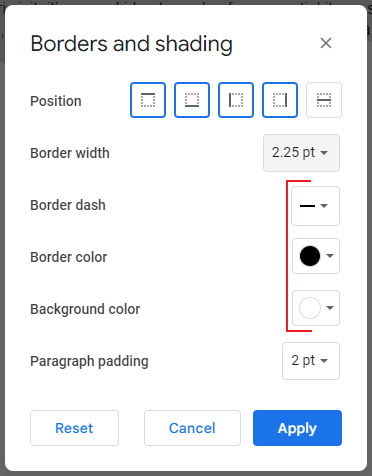
- It’s a good idea to add some padding to the paragraph too. This adds space between the border edges and your paragraph’s text, making it easier to read. You can do this using the
Dropdownto the right of Paragraph padding. The examples above use 6 pt padding.
- Finally, click
Apply.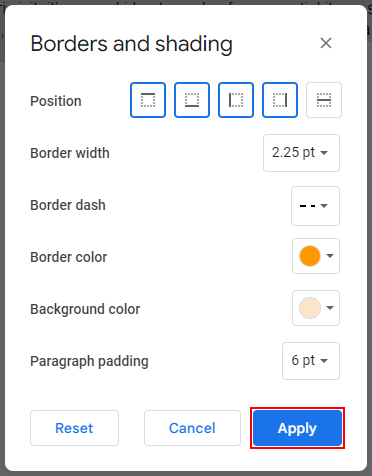
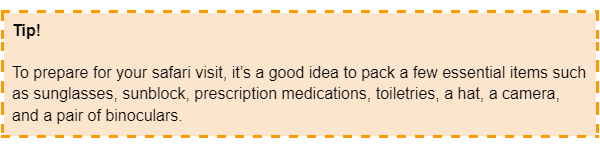
- The paragraph you highlighted previously will now have a border around it. You can change its width by adjusting the document’s margins, similar to how you move bullet points around.

The paragraph will continue to use this style as you type and create new lines. You can use this to create a bolded header above the paragraph, as shown in the examples above, or add additional information to the paragraph.
This behavior is nice, but can lead to confusion when you want to return to normal typing styles. To do so, hit Enter on your keyboard to create a new line, return to Borders and Shading, click the Reset button, and finally click Apply.
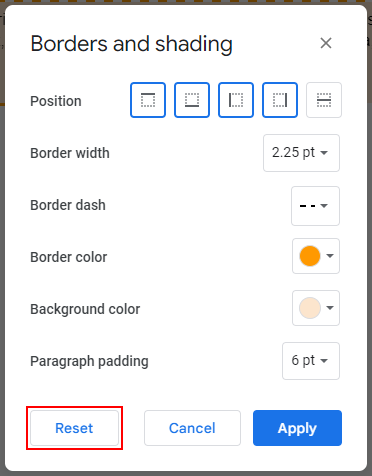
The next line you create will use your default styles again.
Insert a Text Box Drawing
This next method is a bit trickier. You can create a text box from the Insert tab and then implement and customize a border. Keep in mind that instead of actual text, Google Docs inserts the text box – along with the accompanying text – as an image.
- Open docs.google.com, sign into your account, and create a new document or edit an existing one.
- Click the
Inserttab and selectDrawing > New.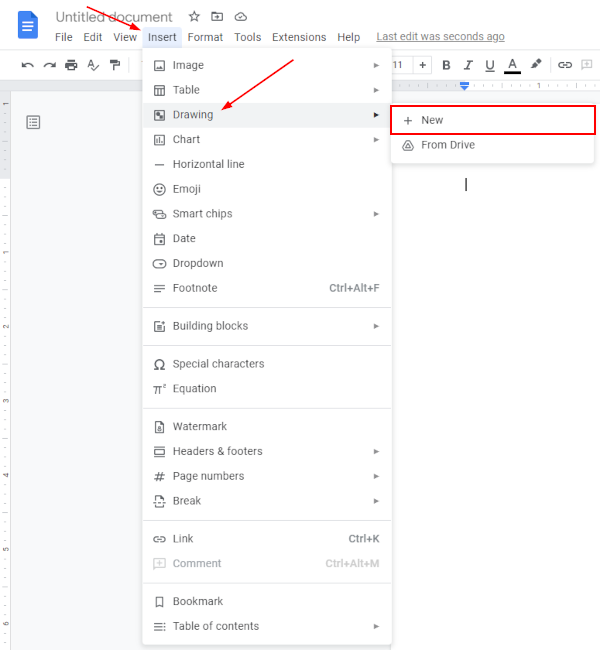
- In the Drawing window that appears, click the
Text boxicon in the toolbar at the top.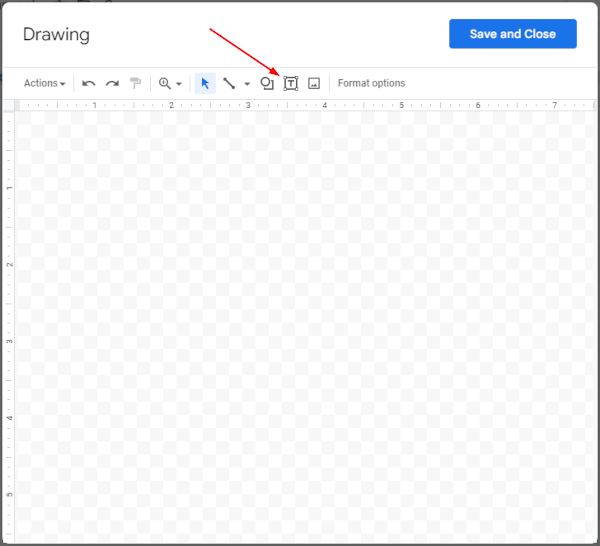
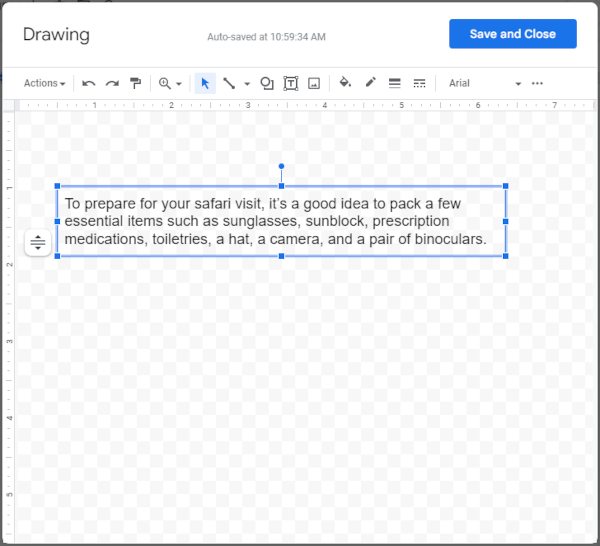
- Draw the text box in the available canvas space. Click and drag until the text box is the desired size, then release. Don’t worry too much about getting this exactly right, you can more precisely resize it later.

- Type in the text you wish to put borders around.
- Click the
Border weighticon in the toolbar at the top and select the width you want your border to be. 3 px is closest to the examples above.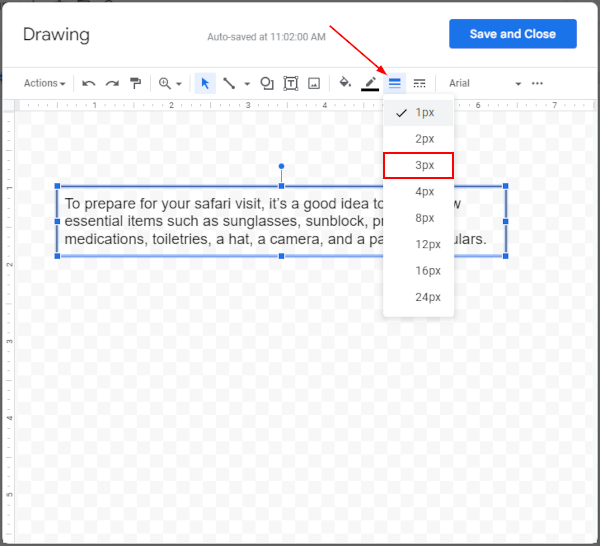
- Optionally, style your border, or add some color to it, using the
Border dashandBorder coloricons to the left and right of the Border weight icon in the toolbar at the top. You can also add a background color using theFill coloricon.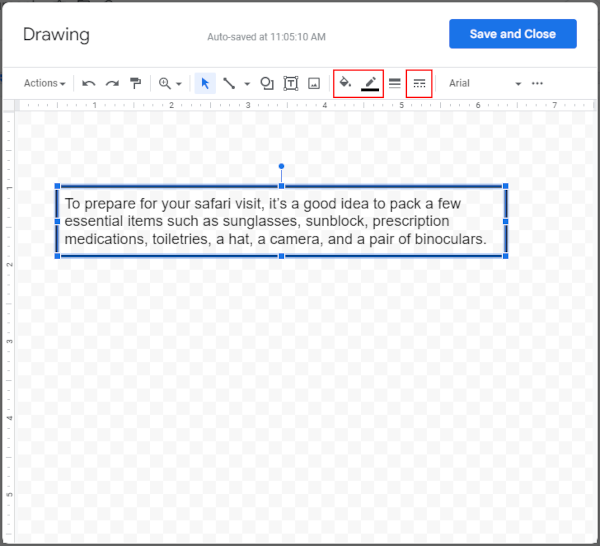
- Finally, click
Save and Closein the upper right corner of the Drawing window.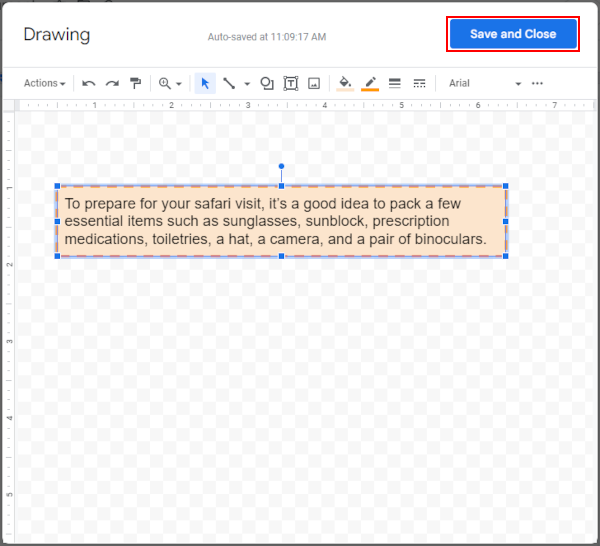
- Your text box will be added to the document. If you wish to move it more freely, try changing its text wrapping style to
In front of text. You can also resize it by first clicking it, then dragging theHandlesthat appear around it.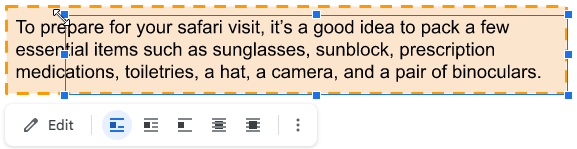
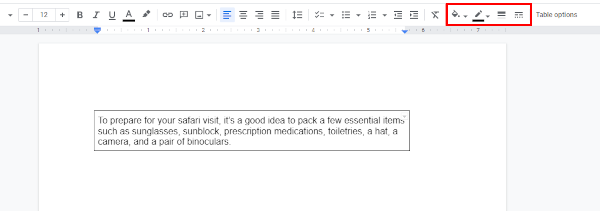
Use a Table
If all you want is a simple border around your text, creating a 1×1 table from the Insert tab on the toolbar is the simplest (and quickest) way to implement it. If you want to create multiple borders around sequential lines of text, you can instead choose 1×2, 1×3, and so on.
- Open docs.google.com, sign into your account, and create a new document or edit an existing one.
- Click the
Inserttab, hover overTable, and select a 1×1 style table. This single cell will act as borders around your text.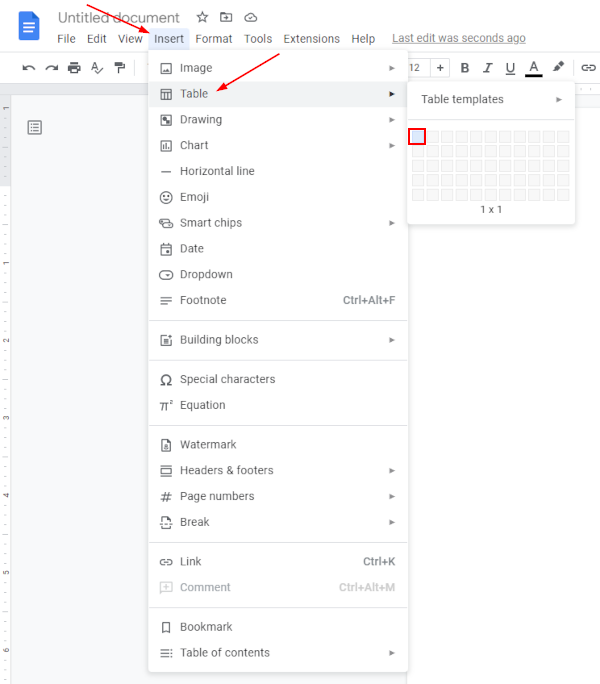
- Type your desired text into the cell.

- At this point, you already have borders around your text. If you want to resize it, simply drag the
Handlethat appears when you hover your mouse over the border at the top, bottom, left, or right.
- Optionally, you can style this border, change its width, add some color to it, or even add a background color using the respective icons in the toolbar at the top of Google Docs.
Insert a Rectangle Drawing and Place it Over the Text
This method is a bit different than the others, Instead of a “real” border, you can draw a rectangle from the Insert tab and manipulate its size, shape, and color. Just like with inserting a text box, keep in mind that the rectangle is inserted as an image.
- Open docs.google.com, sign into your account, and create a new document or edit an existing one.
- Click the
Inserttab and selectDrawing > New. - In the Drawing window that appears, click the
Shapeicon in the toolbar at the top and selectShapes > Rectangle.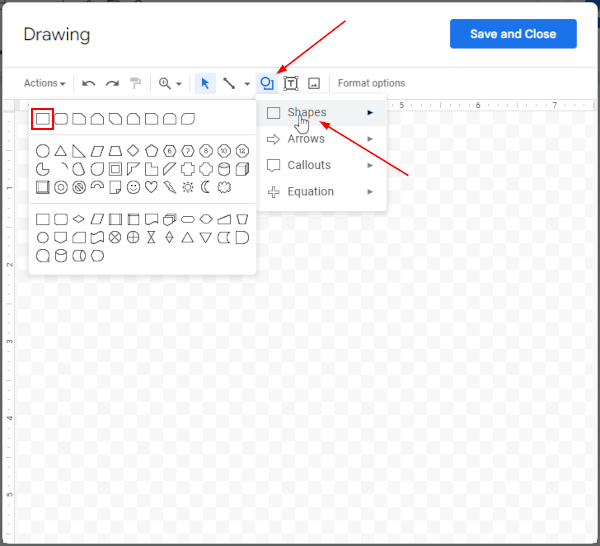
- Draw the rectangle in the available canvas space. Click and drag until the rectangle is the desired size, then release. Don’t worry too much about getting this exactly right, you can more precisely resize it later.

- Click the
Fill coloricon in the toolbar at the top and selectTransparent. You need to be able to see through the shape to see your text.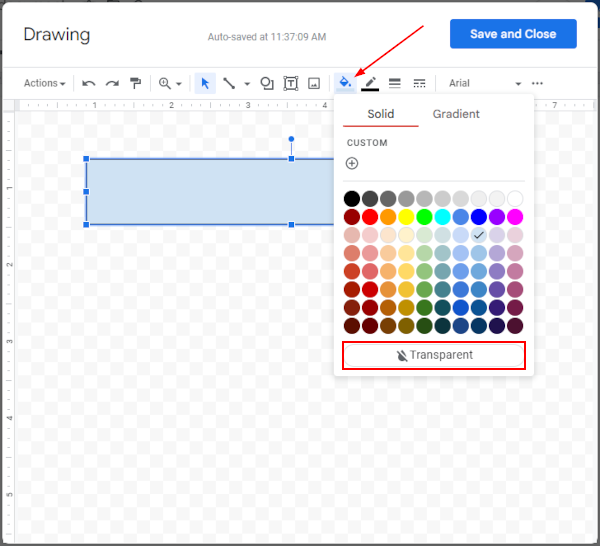
- Optionally, style the shape’s border, increase its weight, or add some color to it, using the
Border dash,Border weight, andBorder coloricons in the toolbar at the top.
- Click
Save and Closein the upper right corner of the Drawing window.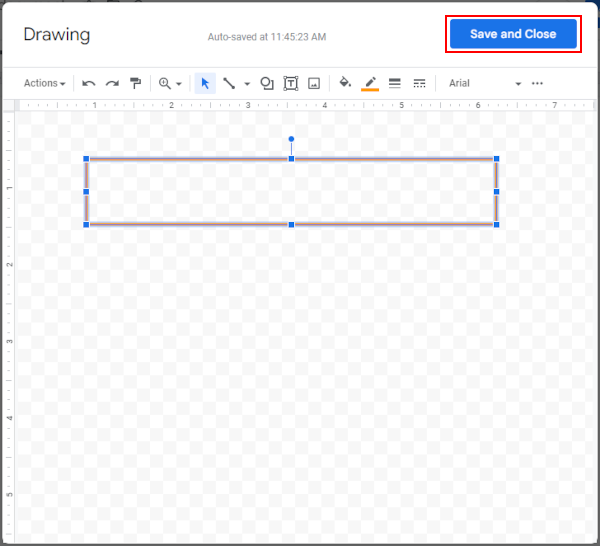
- Change the shape’s text wrapping style to
In front of textso that it moves more freely.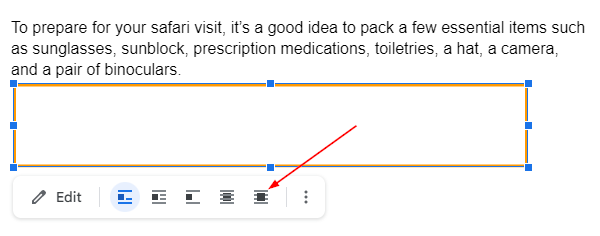
- Drag the shape and place it roughly over the text you wish to put borders around. You can fine tune the positioning pixel by pixel by holding down the
Shift keyon your keyboard and using theArrow keys.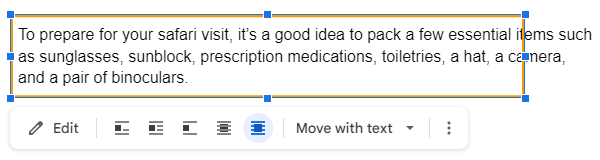
- You’ll likely need to resize it, which you can do by dragging the
Handlesthat appear around the shape when it’s selected.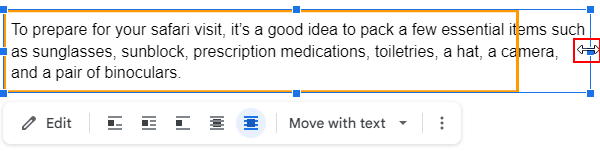
- The shape will act as borders around your text and will appear as so in your document. You can do this with other shapes too! Another great way to use this method is for circling important text you want to bring attention to.
Conclusion
A lot of stuff gets worked on in Google Docs. Ranging from purely text-based projects like academic essays, poems, or even journalistic pieces, to more visual arts-based projects like magazine entries or even brochures.
For these sorts of text-image hybrid projects, implementing and customizing borders can help to keep your audience engaged. Furthermore, borders (and other shapes!) can be a useful tool for directing your audience’s attention to a specific area.


