Whether you’re someone who travels for work, or you’ve just recently moved, it’s a good idea to change your time zone in Outlook.
You don’t want to show up to meetings late, or have to reschedule them, just because your Outlook calendar is out of sync with your new time zone. If you’ve permanently moved, you’ll also want to double check your meeting hours for your new time zone.
Thankfully, Outlook makes it easy to manage time zones. In this article, we’ll show you how to update your time zone and meeting hours in Outlook.
How to Change Your Time Zone in the Outlook 365 Desktop Client
You can change your time zone in Outlook 365 under the Calendar section of the Outlook Options window. Here’s how, step-by-step:
- Open the Outlook desktop client and sign into your account.
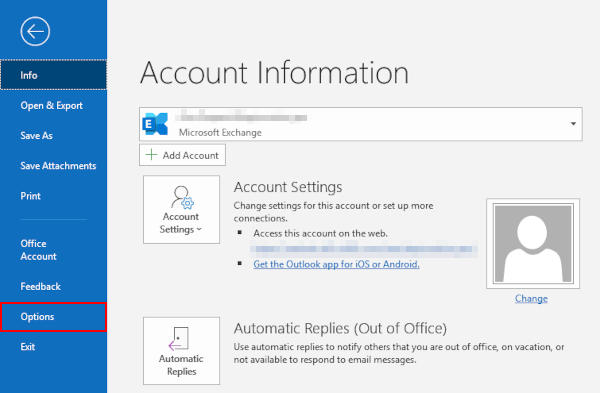
- Click
Filein the upper left corner and then selectOptionsin the menu at the left.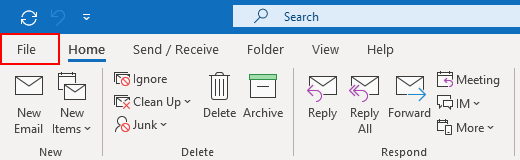
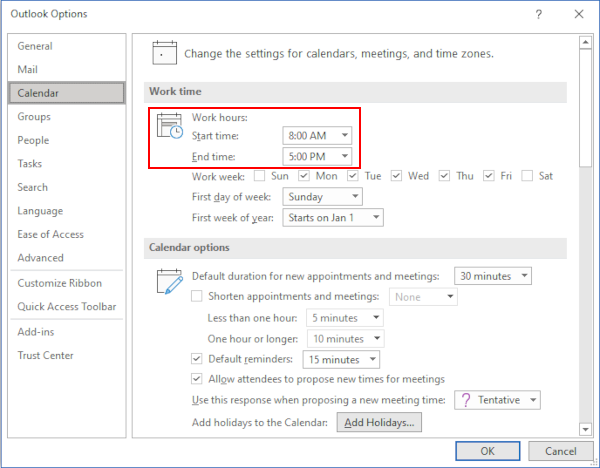
- In the Outlook Options window that appears, click
Calendarin the left most menu.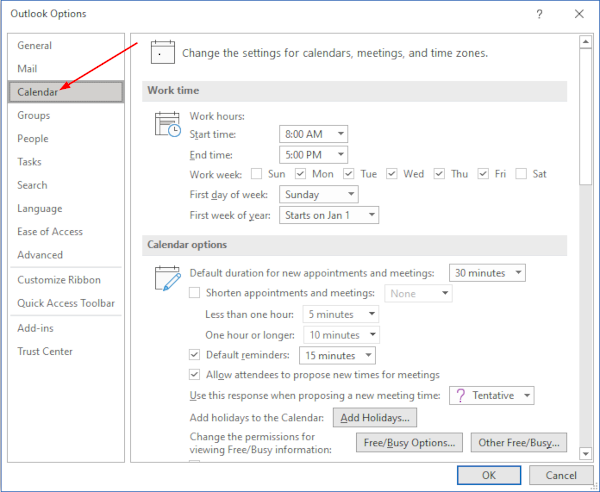
- Scroll down to the Time zones section in the right panel and use the first dropdown to change your current time zone.
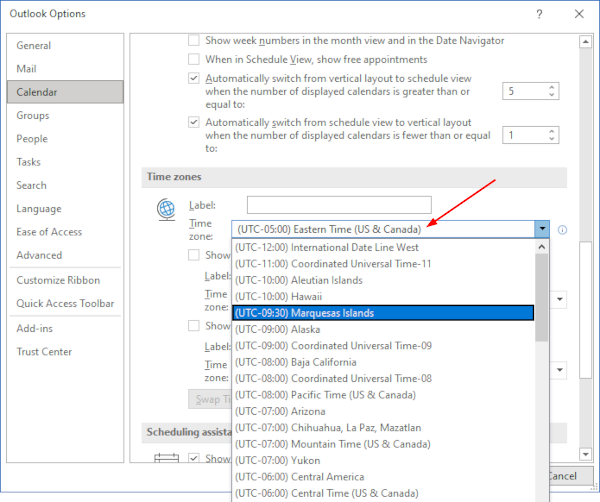
- Click
OKto apply the changes.
How to Change Your Time Zone in Outlook for the Web (OWA)
You can change your time zone in Outlook for The Web under the Calendar section of Outlook’s settings. Here’s how, step-by-step:
- Open Outlook for the Web and sign into your account.
- Click the
Gearicon at the top right of Outlook and then clickView all Outlook settingsat the bottom of the menu that appears.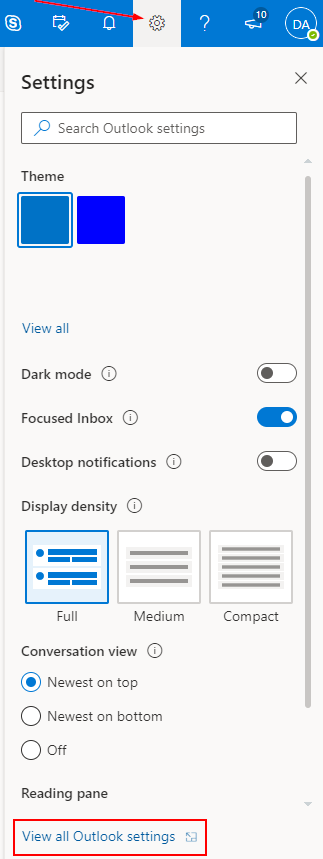
- In the Settings window that appears, click
Calendarin the leftmost menu.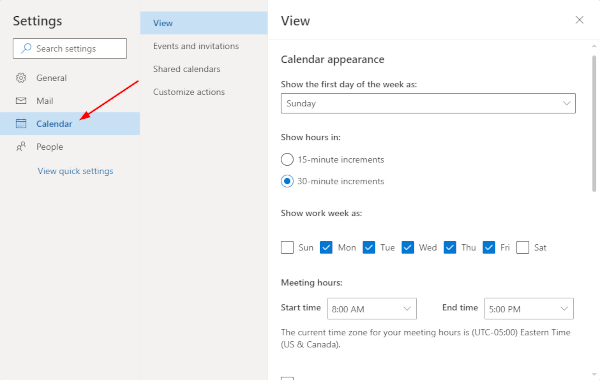
- Scroll down to the Time zones section in the right panel and use the dropdown to change your current time zone.
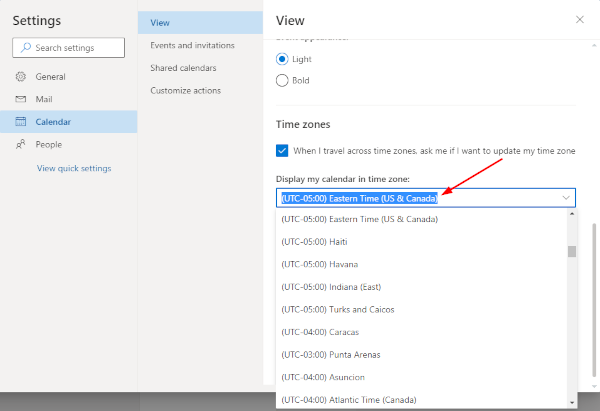
- Click
Saveto apply the changes.
Can you Change Your Time Zone in the Outlook Mobile App?
At the time of writing, it seems that updating your time zone in the Android or iOS versions of the Outlook mobile app is not currently supported.
In a world where people are constantly on the move, and our phones are our first points of contact, this feature would be a perfect addition.
Hopefully, Microsoft knows this as well as we do and we’ll see it added to the app in the not so distant future.
Updating Your Meeting Hours for Your New Time Zone
Your meeting hours in Outlook are the times you’re available for meetings. They let others know when you’re typically in or out of the office when scheduling meetings with you.
When changing time zones, you may need to update your meeting hours to align with your new time zone. If you don’t double check these, you might end up with meetings scheduled for two o’clock in the morning!
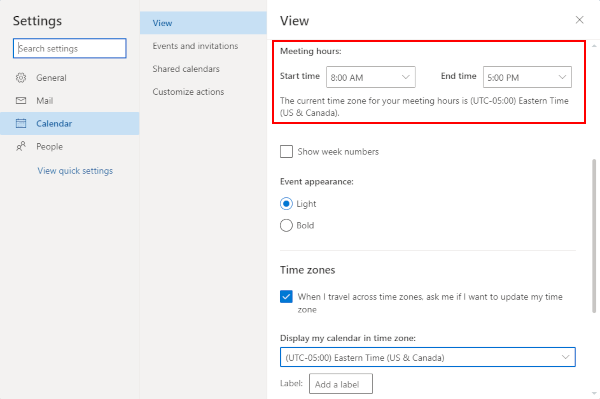
You can update your meeting hours by returning to the Calendar section of Outlook’s settings, as shown above, and adjusting the times listed below Work hours / Meeting hours.
In the Outlook 365 desktop client:
In Outlook for the Web (OWA):
Adding and Removing Time Zones in Outlook
Outlook 365 allows you to manage three separate time zones in your Outlook calendar. This can be useful if you’re someone who travels to the same city often, or works closely with people in other time zones.
You can add and remove time zones at any time in Outlook’s Calendar settings.
In the Outlook 365 desktop client:
- Return to the Calendar section of Outlook Options as shown above.
- Under Time zones, check the box for
Show a second time zoneandShow a third time zoneas needed. - Optionally, label the time zone so you can easily recognize it. You might label a time zone as the city’s name your coworkers reside in, for example.
- Use the drop down to select the time zone you wish to add.
- Click
OKto apply the changes.
You can remove the time zone by simply unchecking the Show a second time zone or Show a third time zone boxes.
In Outlook for the Web (OWA):
- Return to the Calendar section of Outlook’s settings as shown above.
- Under Time zones, click the
Add time zonebutton. - Use the drop down to select the time zone you wish to add (click the down arrow at the far right).
- Optionally, label the time zone so you can easily recognize it. For example, the name of the city your coworkers reside in.
- Click
Saveto apply the changes.
You can remove the time zone by unchecking the Show in calendar box or clicking Remove below the time zone.
Automatically Updating Time Zones in Outlook When you Travel
In Outlook for the Web (OWA), you can have Outlook automatically alert you when you need to update your time zone. Unfortunately, this feature seems to be missing from the Outlook 365 desktop client.
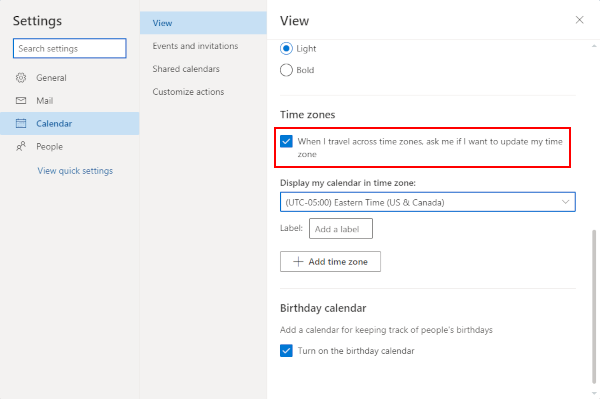
This setting is found under the Time zones section of Outlook’s Calendar settings.
Simply check the When I travel across time zones, ask me if I want to update my time zone box. Be sure to click Save afterwards to apply the setting.


")
