Maps are an excellent way to visualize geographical data on a specific location. Google Maps does a fantastic job of this with the data it has available, but what if you want to show additional information?
You can do this with the Google Map’s JavaScript API but that requires knowledge of HTML, CSS, & JavaScript. Fortunately, Google provides another way with Google My Maps. With My Maps you can draw shapes, lines, and plan routes on top of Google Maps. You can even change how the map looks, remove existing labels, and share or embed the map on a website.
How to Draw Lines, Shapes, & Routes on Google Maps with My Maps
You’ll have to sign into your Google account to use My Maps so make sure you’re already signed in or do so when prompted.
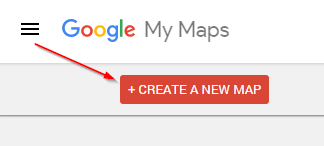
Open mymaps.google.com in your browser and click the Create a new map button at the upper left.
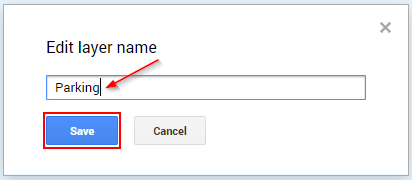
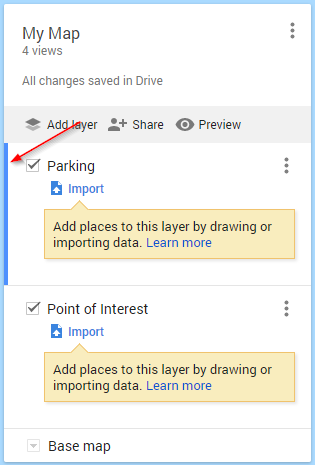
Optionally, give the layer that will contain markers, shapes, or lines a name by clicking Untitled layer at the left. Creating a route will automatically create a new layer for you.
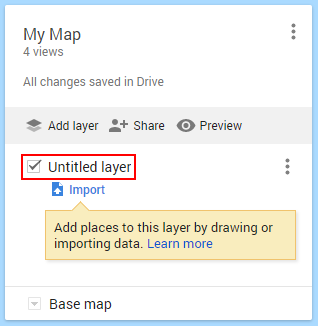
If you plan on creating a map with a lot of different drawings it might be a good idea to draw them on their own layer. For example, you might create a layer for routes, one for shapes, and one for markers. This keeps things organized and also allows map viewers to hide specific layers.
You can easily add a new layer by clicking the Add layer button above your existing layers. To remove a layer, click the 3 dots next to the layer and select Delete this layer.
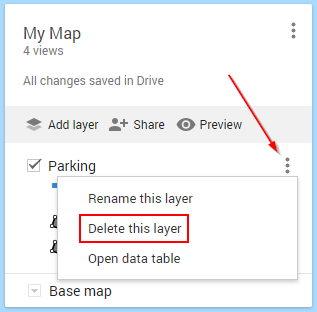
Make sure you select the layer you want to draw the objects on first. A layer is selected when it has a blue bar to the left of it.
Drawing Shapes
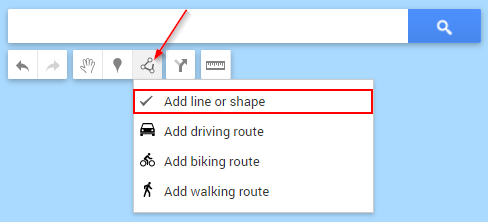
With the the appropriate layer selected, click the Draw a line button under the search bar and select Add line or shape.
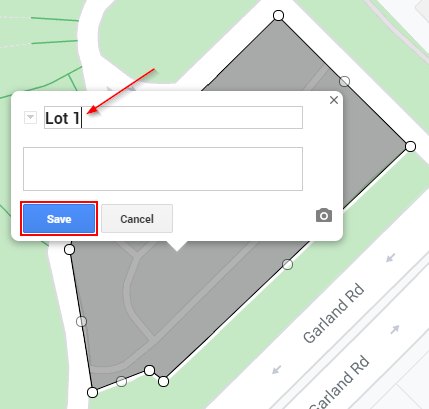
Start drawing your shape by clicking each point of it. When you’re ready to close off the shape, connect the final point to the starting one.

Name your shape, and click Save.
Adding Points
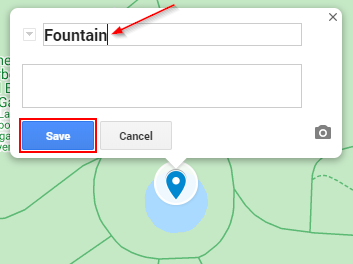
With the the appropriate layer selected, click the Add marker button under the search bar.

Click where you want the marker to appear, name it, and click the Save button.
You can also add markers using the search bar. Simply search for a point and then click Add to Map. Check out our article on adding multiple points to Google Maps to find out more.
Creating Routes
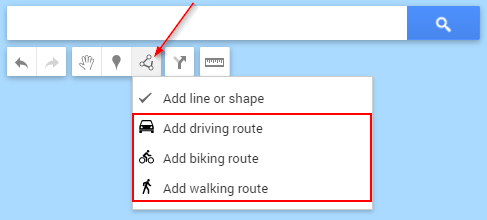
Click the Draw a line button under the search bar and select the route type you need.
My Maps will automatically create a new layer for routes, so don’t forget to change the name of the layer after you’ve created the route.
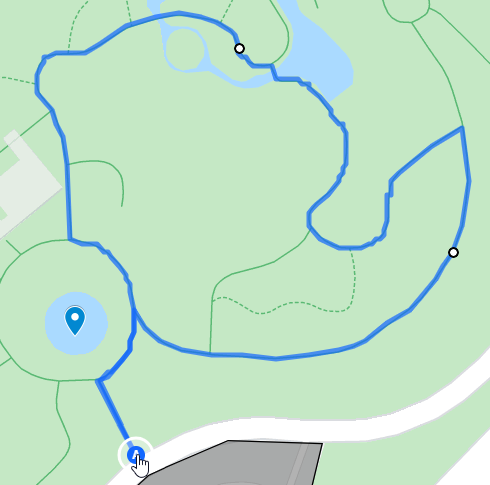
Start drawing the route by clicking the start point and then each point following it until the end. My Maps will show you the route in real time as your draw it.
This can be a little tricky at first so if you mess up, just delete the layer and start over.
Wrapping up
Google My Maps is a powerful tool that makes adding custom information to Google Maps easy. Hopefully this tutorial has been helpful and you’re now on your way to creating something great.
You can export, embed, or print a map by clicking the 3 dots next to the map’s name and selecting the option you need. You can also share a map by clicking the Share button under the map’s name.


