Whether you’ve moved, change careers, graduated college, gotten married, or achieved some other goal, one of the easiest way to share and celebrate this milestone with friends and family is by adding a life event to Facebook.
Life events on Facebook are a special type of post that celebrate major milestones in your life. They are posted to your timeline, like other posts, but also appear in their own special place on your profile.
Facebook will add life events for you as you update your profile information, such as where you work or live. However, you can also add them manually and even edit, hide, or delete them.
In this article, we’ll show you how to add life events to Facebook on your PC, Android, or iPhone.
How to Add Life Events to Facebook on PC
You can add life events to Facebook by clicking Life event under the What’s on your mind? Status bar on your profile page. Here’s how, step-by-step, on your PC:
- Open Facebook.com and sign into your account.
- Click you
Profile picturein the upper left corner, below the Facebook logo, to navigate to your profile.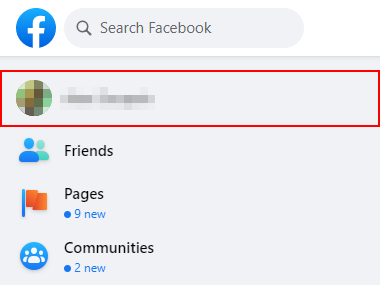
- Below the What’s on your mind? Status bar, click
Life Event.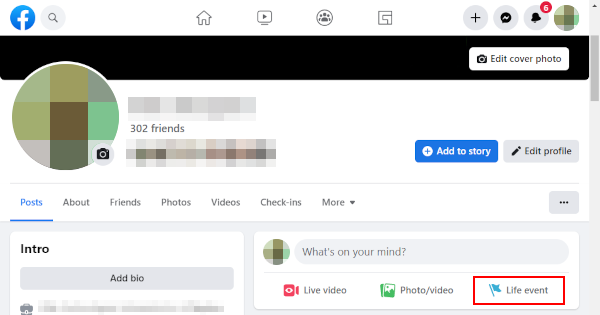
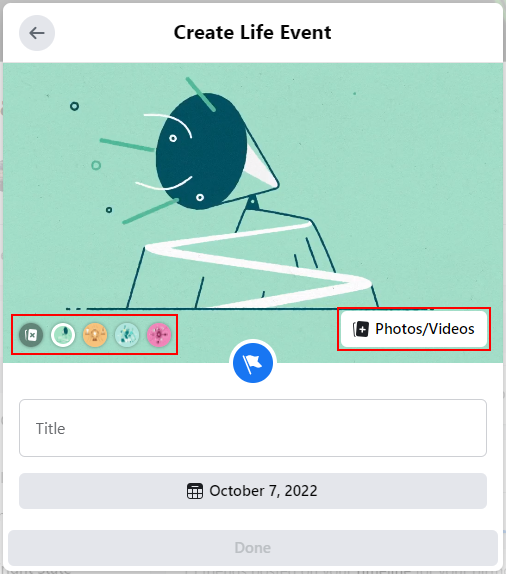
- In the Create Life Event window that appears, choose the category that best fits the life event you want to share. You can choose
Create Your Ownif none of them fit well.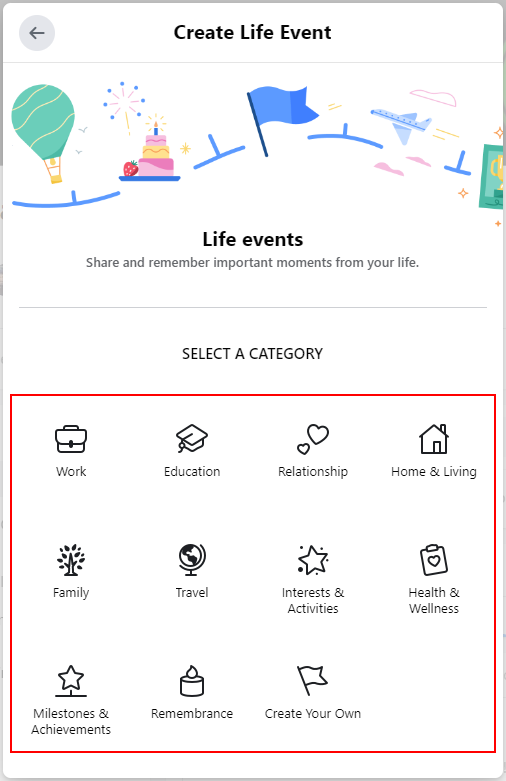
- Fill in any relevant information about your life event: title, date, location, etc. You can add a description and tag your friends a few steps later.
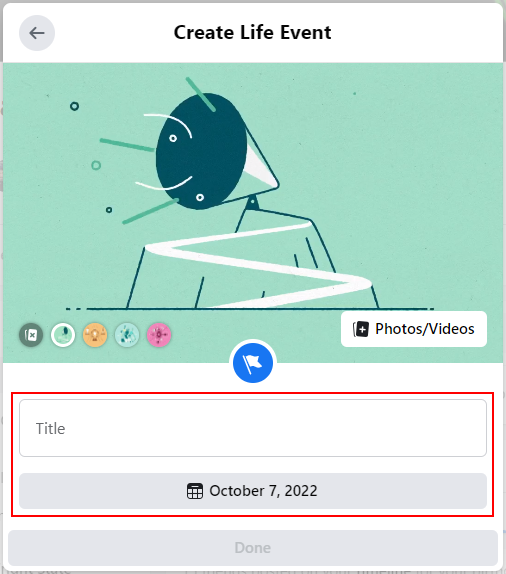
- Optionally, change the banner image by selecting one in the lower left corner or uploading your own photo/video.
- You can also click the blue
Iconin the middle of the window to choose a different icon.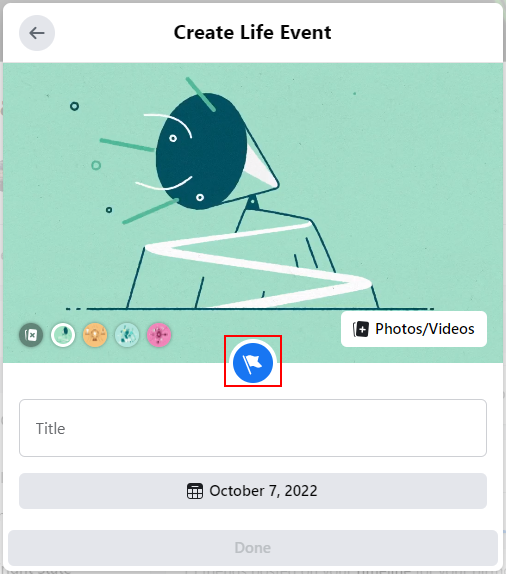
- Click
Doneat the bottom.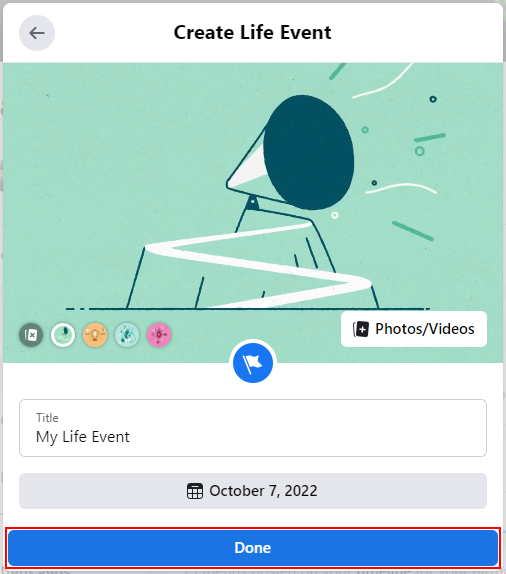
- You will be taken to the Create post window with your life event added to it. Add a description and tag your friends above the life event, if you desire to.
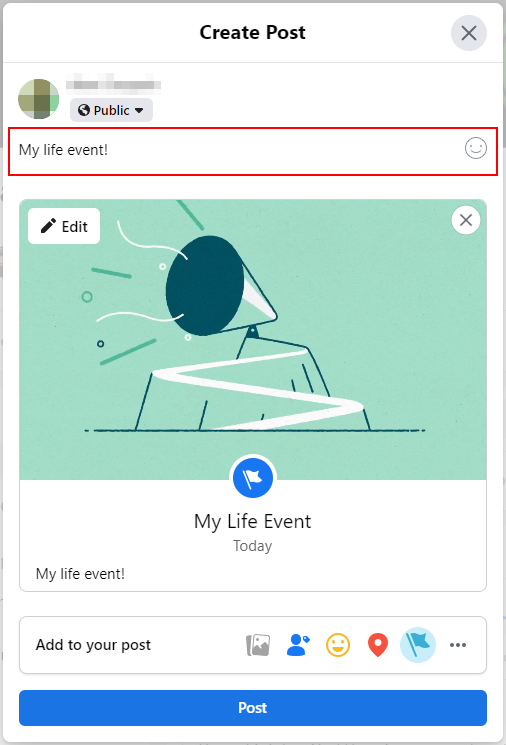
- Click
Postwhen finished.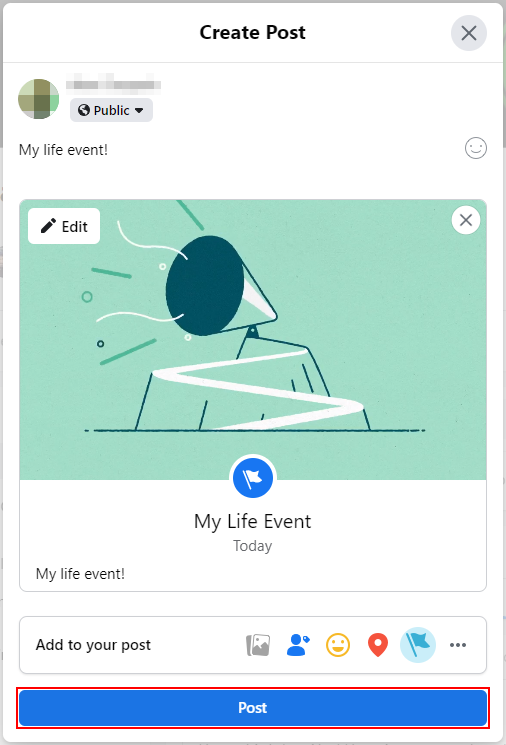
How to Add Life Events in the Facebook Mobile App
To add life events to Facebook in the mobile app, you’ll need to tap Life events on your profile page and then tap the Create button at the top. Here’s how, step-by-step, on your Android or iPhone:
- Open the Facebook mobile app and sign into your account.
- Tap your
Profile pictureto the left of the What’s on your mind? Status bar to navigate to your profile.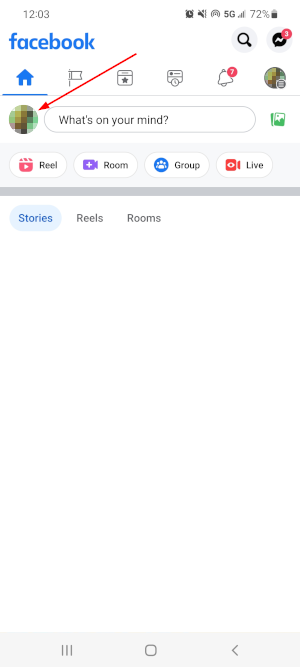
- Scroll down and tap
Life eventsunder the What’s on your mind? Status bar.
- On the following screen, tap
Createto the right of Add a Life Event at the top.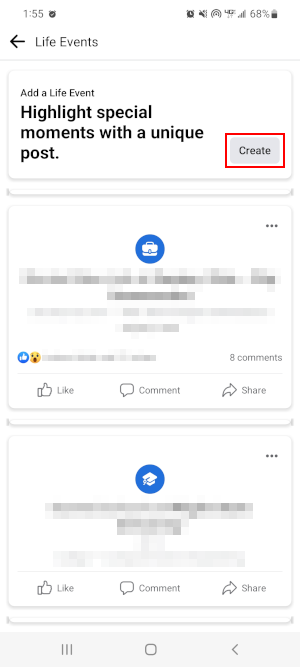
- In the Create Life Event window that appears, choose the category that best fits the life event you want to share. You can choose
Create Your Ownif none of them fit well.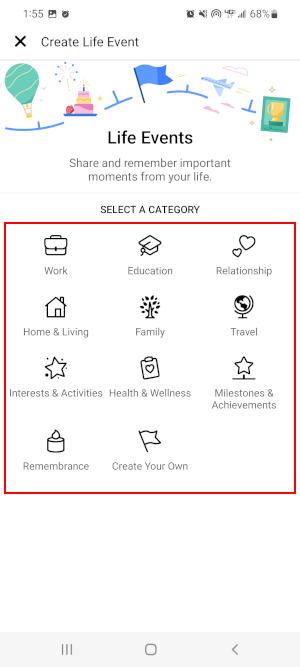
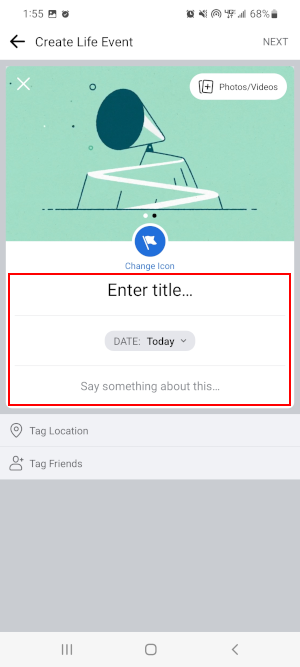
- Fill in any relevant information about your life event: title, date, description, location etc.
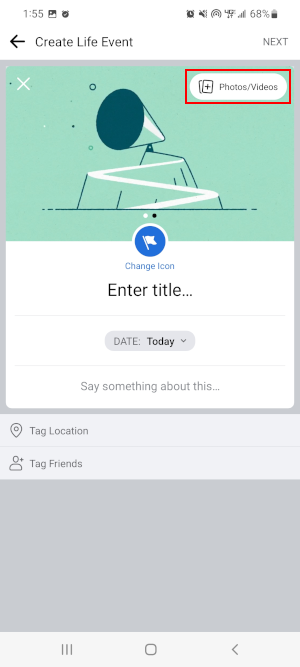
- Optionally, change the banner image by uploading your own photo/video.
- You can also tap
Change Iconin the middle of the screen to choose a different icon.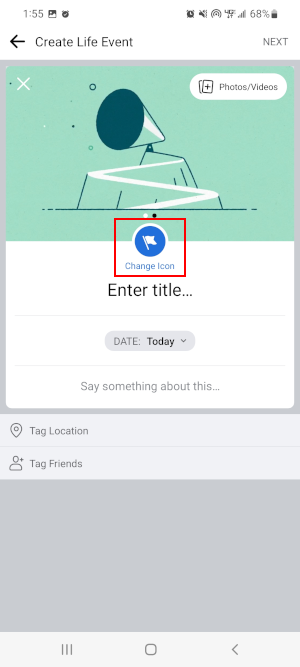
- If you wish to tag friends in your life event, tap
Tag Friendsand select them.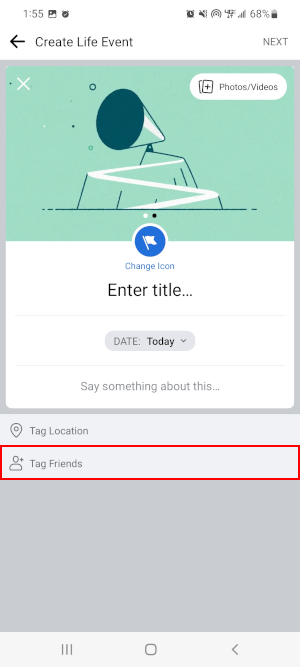
- Finally, tap
Nextin the upper right corner of your screen and then tap theShareat the bottom.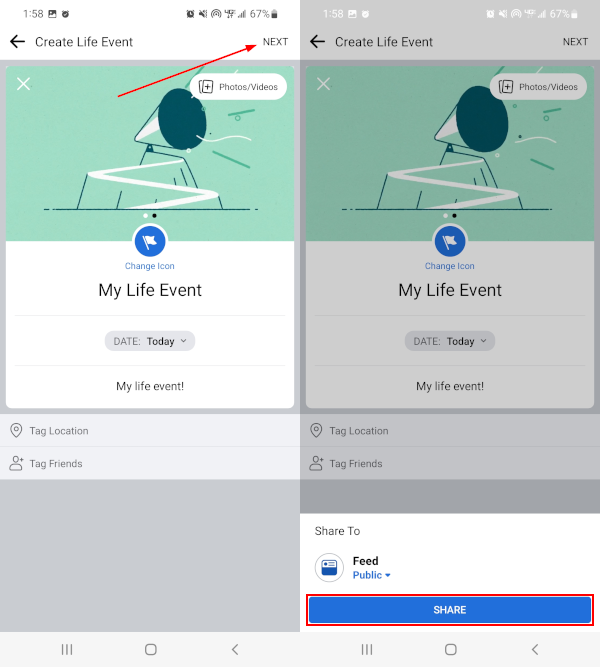
Editing Life Events on Facebook
If you make a mistake while posting a new life event to Facebook, there’s no need to worry because you can go back and edit it at any time. In fact, Facebook even allows you to hide or delete your previous life events.
Here’s how you can edit life events on Facebook on your Android, iPhone, or PC:
Desktop/PC
- Open Facebook.com and sign into your account.
- Click you
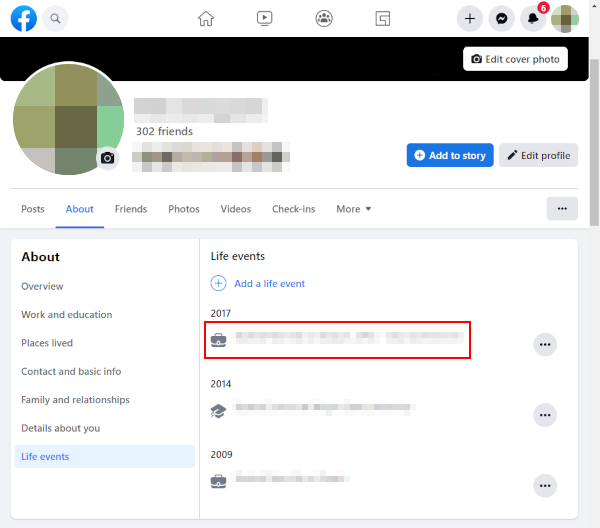
Profile picturein the upper left corner, below the Facebook logo, to navigate to your profile. - On your profile, click the
Abouttab and then clickLife eventsin the leftmost menu on the following page.
- Click the life event you wish to edit.
- On the following page, click the
3 dotsin the upper right corner of the post and selectEdit post.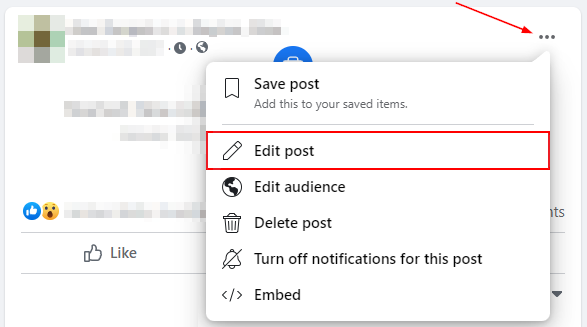
Android/iPhone
- Open the Facebook mobile app and sign into your account.
- Tap your
Profile pictureto the left of the What’s on your mind? Status bar to navigate to your profile. - Scroll down and tap
Life eventsunder the What’s on your mind? Status bar. - On the following screen, tap the
3 dotsin the upper right corner of the life event you wish to edit and selectEdit post.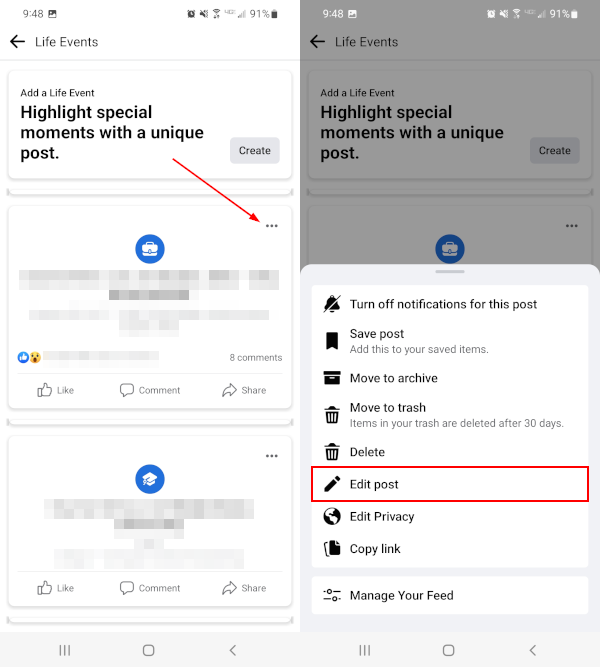
Final Thoughts
Facebook’s life events are a great way to share and celebrate life’s most significant moments with friends and family. Now that you know how to post them to Facebook, get out there and share the great news!
Before you go, you might also check out how to hide or delete life events just in case there’s a few you no longer want listed on your profile.


