Adding an offline screen to your Twitch channel is a great way to both personalize your channel and provide information to your viewers when you’re not streaming. The image you upload will display over the video player when you’re not online.
Your offline screen might include things like your streaming schedule, your community Discord server, or other social media handles. A good offline screen will help you keep in touch with your community and build your audience even when you’re not live.
Recommended Size for an Offline Screen on Twitch
Before you create an offline screen for your Twitch channel, you should know what size to use. Twitch recommends a banner that’s 1920×1080 with an aspect ratio of 16:9. You’ll also want to keep your banner under 10 MB as this is the max limit Twitch accepts.
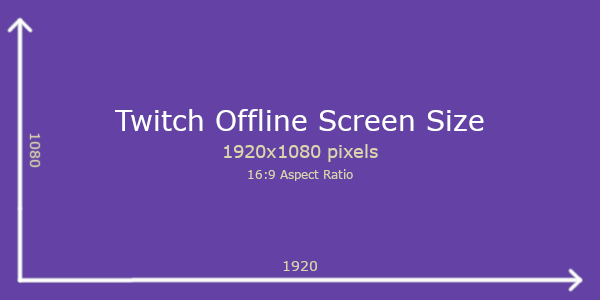
You can use a tool like Twitch Offline Banner Maker to help create a banner, or get some inspiration from these awesome templates on Snappa.
How to Add an Offline Screen to your Twitch Channel
Once you’re offline screen is ready, the next step is to upload it to your Twitch channel.
- Login to Twitch and navigate to your account settings by clicking your profile picture and then selecting
Settings.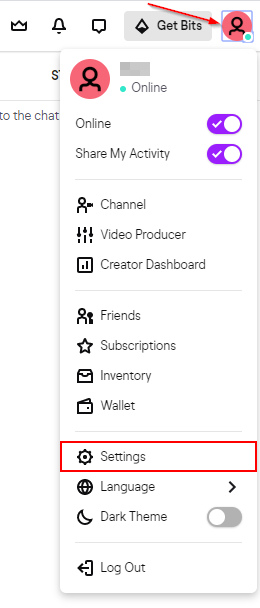
- Click the
Channel and Videostab on theSettingspage.
- Click the
Brandtab, Scroll down to theVideo Player Bannersection, and click theUpdatebutton.

- Drag and drop your offline screen banner image to the upload form or click
Upload a photoand select the banner through your file explorer.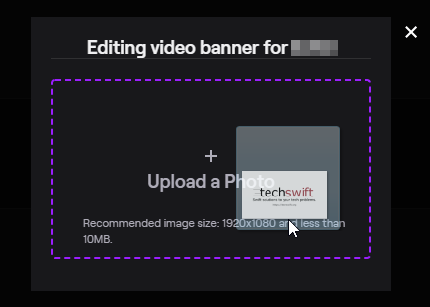
It may take some time for your new offline screen to appear on your channel, so give it a few hours if it doesn’t show up immediately.
If you’re still unable to see your banner after a couple hours, try looking at your stream with an incognito window or after clearing your browser’s cache.

THANK YOU!!!
I have done this but it still shows my latest videos, only way to change that from what I can see is to unpublish the videos on my account and then it shows fine.
i think they moved it
Hey, thanks for letting me know! It’s now located under the Brand tab in your channel settings. I’ve updated the article to reflect this change.
Thanks for this. It made the process go extremely quick for me.