The Facebook Marketplace has some neat features for sellers, like Vacation Mode, but perhaps one of the most basic, and useful, features is the ability to view and manage your listings all in one place.
For being such a useful feature, how you get there isn’t immediately clear. Once you’re there though, you’ll see all your listings, even those you’ve hidden from friends, and can edit or delete them, or update their statuses.
In this article, we’ll show you how to view your listings on the Facebook Marketplace on your Android, iPhone, or PC.
How to See Your Listings on the Facebook Marketplace
You can view your Facebook Marketplace listings by navigating to Your Listings through the Marketplace Menu. Below, we’ll show you step-by-step instructions on how on your Android, iPhone, or PC:
Android/iPhone
- Open the Facebook mobile app and sign into your account.
- Tap your
Profile picture/3 barsin the upper right corner and then tap theMarketplacetile on the following screen.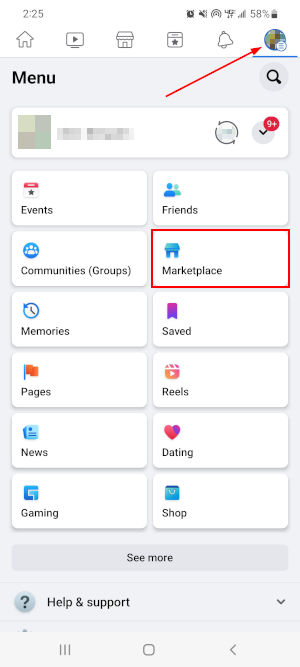
- Tap the
Personicon in the upper right corner of the Facebook Marketplace and then tapYour Listings.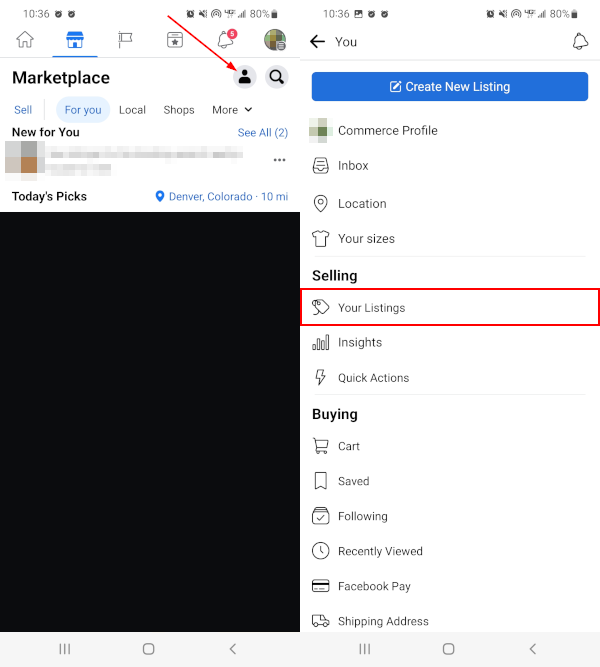
- Your Facebook Marketplace listings be shown on the following screen. You can search through your listings using the
Search barabove your listings.
You can also edit, delete, or mark an item as sold on this screen. Here’s how to do each of those, respectively:
- To edit a listing, tap the
3 dotsnext to the listing and tapEdit listing. - To delete a listing, tap the
3 dotsnext to the listing and tapDelete listing. - To mark an item as sold, simply tap
Mark as soldnext to the item’s listing.
There’s a few caveats for when you can edit or delete a listing that you can read more about in this Facebook support article.
Desktop/PC
- Open Facebook.com in your web browser and sign into your account.
- Click
Marketplacein the menu on the left. You can also simply open https://www.facebook.com/marketplace/ in your web browser.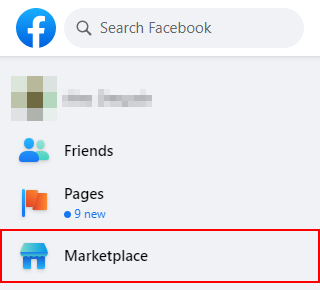
- In the leftmost menu of the Marketplace, click
Create new listing.
- On the Create new listing page, click
Your Listingsin the leftmost menu.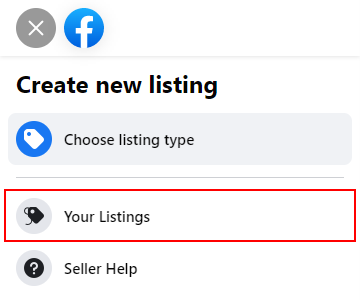
- Your Facebook Marketplace listings will be shown in the right panel of this page. You can filter your listings by date, title, and status using the
Sort byandStatusfilters below Filters near the bottom of the leftmost menu.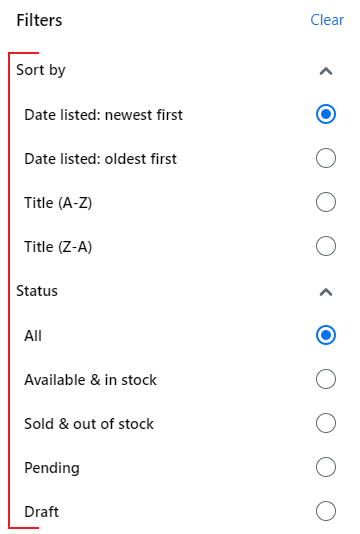
You can also edit, delete, or mark an item as sold on this page. Here’s how to do each of those, respectively:
- To edit a listing, click the
3 dotson the listing and tapEdit listing. - To delete a listing, click the
3 dotson the listing and tapDelete listing. - To mark an item as sold, simply click
Mark as soldnext to the item’s listing.
There’s a few caveats for when you can edit or delete a listing that you can read more about in this Facebook support article.


