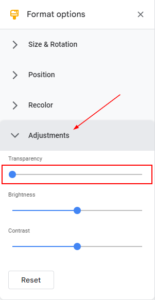
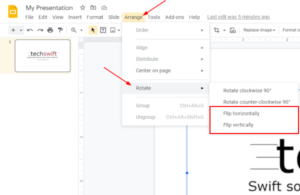
Shapes in Google Slides can be used to make basic figures and even more advanced visual aids. If you’re looking to take your shapes game to the next level though, you won’t get far without transparency.
Transparency allows you to layer shapes on top of one another, turn them into background elements, or overlay them with text. You can even pair them with transparent images to make unique visuals that are sure to impress your colleagues.
In this article, we’ll show you how to make shapes transparent in Google Slides on your PC, Android, or iPhone.
How to Make Transparent Shapes in Google Slides
To make shapes transparent in Google Slides, simply select any shape and change its Fill color to Transparent. Here’s how, step-by-step, on your PC and in the Google Slides mobile app on your Android or iPhone:
Desktop/PC
- Open Google Slides, sign into your account, and create a new presentation or edit an existing one.
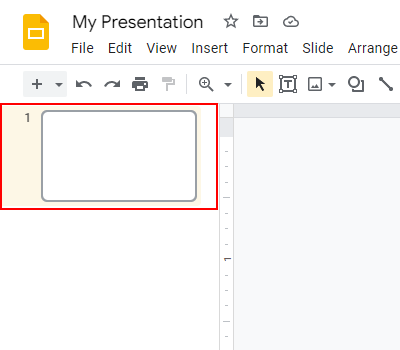
- In the leftmost menu, select the slide you wish to add a shape to.
- Click the
Inserttab and select any shape from theShapesmenu.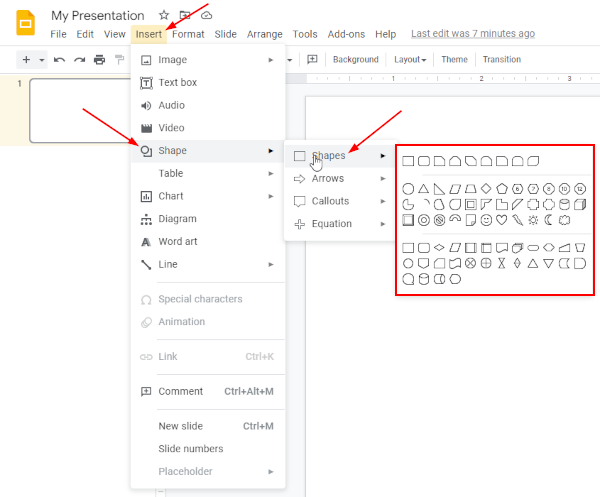
- Draw the shape anywhere on the selected slide, or simply click anywhere in the slide to insert it.

- Once inserted, click the shape to select it. A blue border will appear around the shape when selected.
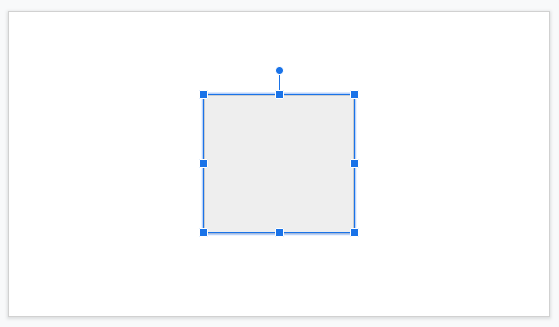
- With the shape selected, click the
Paint bucketicon in the Toolbar above the current slide and selectTransparent.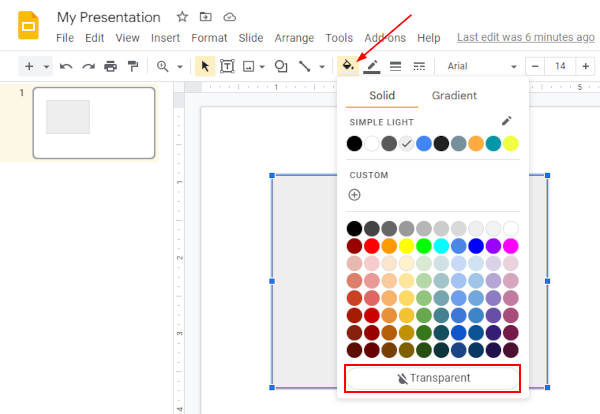
Android/iPhone
- Open the Google Slides mobile app, sign into your account, and create a new presentation or edit an existing one.
- Near the bottom, select the slide you wish to add a shape to.
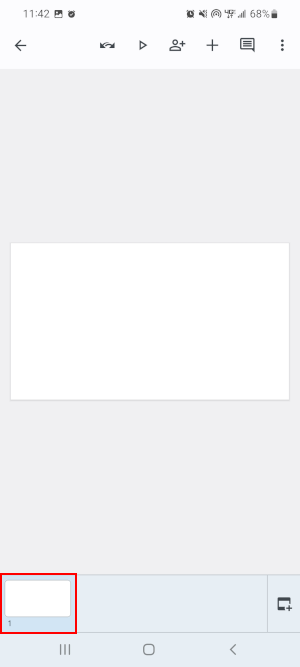
- Tap the
Addsymbol in the upper right corner and select a shape from the Shapes menu. It will automatically be inserted into the selected slide.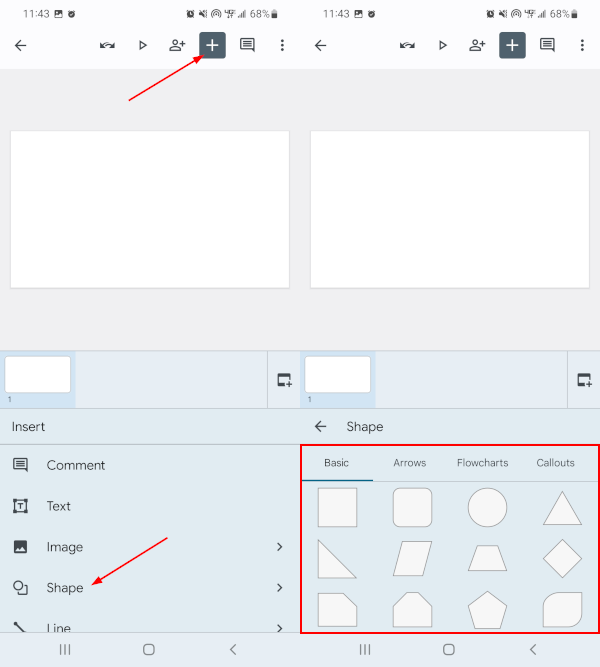
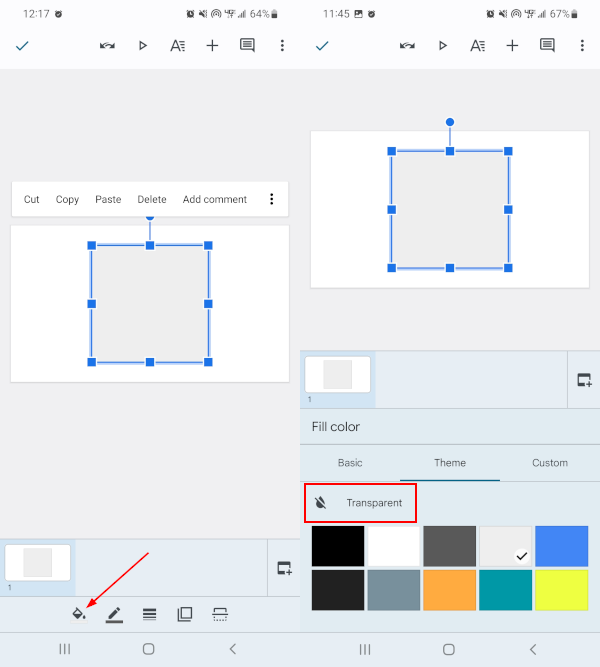
- Once added, tap the shape to select it. A blue border will appear around the shape when selected.
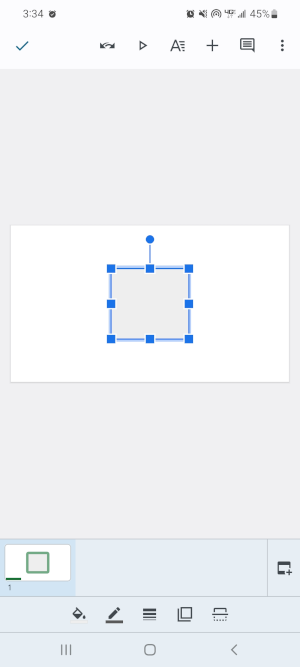
- With the shape selected, tap the
Paint bucketicon in the Toolbar at the bottom and selectTransparent.