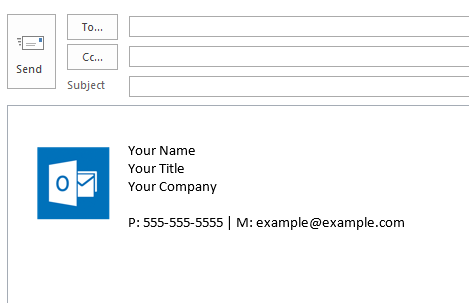
An email signature is a great place to show additional information about yourself. You can include your title, your email address, your cell phone number, and anything else you want to share.
Signatures are, generally, automatically appended to the end of every email you create or reply to. They help make your emails look more professional and are sometimes even expected by your employer and coworkers.
In Outlook 2013, creating a new email signature is easy once you know where to look. In this article, we’ll show you how to add an email signature in Outlook 2013.
How to Create a New Signature in Outlook 2013
You can create a new email signature in Outlook 2013 in the Signatures and Stationary settings of Outlook. Below, we’ll show you how step-by-step:
- In Outlook, click
New Emailat the upper left hand corner.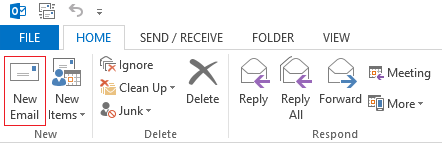
- Under the Message tab, click
Signatureand then clickSignatures...
- In the Signatures and Stationery window, click the
Newbutton under the Select signature to edit field.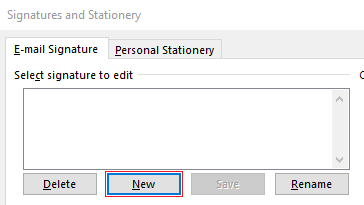
- Type in a name for your signature and click
OK. The name doesn’t really matter much, and is only visible to you, so make it something simple like “Work Signature”.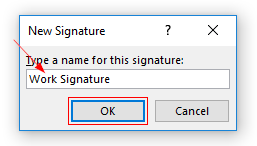
- Click the newly created signature’s name under Select signature to edit to highlight it (it will appear with a blue background when highlighted).

- Use the box under Edit signature to create your new signature.
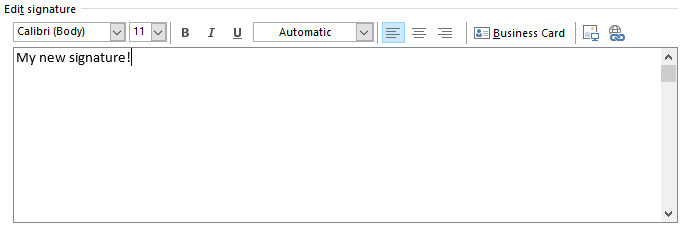
The signature editor in Outlook 2013 is a What you See Is What You Get Editor (WYSIWYG). Simply, this means that you signature will appear in new emails exactly as it does here. Similar to how you’d edit text in a Microsoft Word document, you can select a custom font, bold text, and change font size using the controls directly above the editor.
You can insert images using theAdd Imageicon to the right of the Business Card option. Links you paste here will automatically hyperlink, but you can add them manually using theInsert linkicon. - Click the
Savebutton in the box underSelect signature to editand then theOkbutton at the far lower right when you’re finished.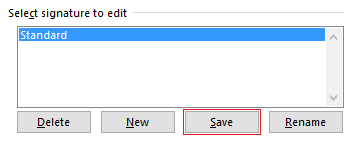
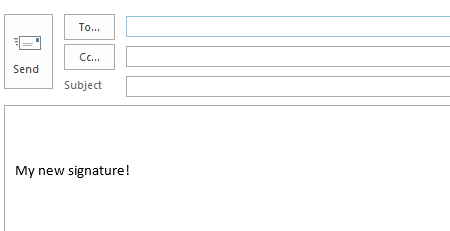
- To verify that you’ve added the signature correctly, simply start a new email. It should show up at the bottom of it.